Revu 20 & Below Installation Guide
This article applies to:
- Revu 21
- Revu 20
This guide will help you install Revu on a single computer. If you’re an IT Administrator attempting to deploy Revu across multiple computers, see the Revu 21 IT Admin Resources or the Revu 20 & Below IT Admin Resources pages.
Revu 21 automatically installs in Read-only mode if you don't have an active Bluebeam subscription plan. To register for a free trial of our most comprehensive Bluebeam Plan, click here. If you've already installed Revu 20 or below as a trial version, see How to Register Revu.
Pre-installation checklist
- Ensure compatibility and update Windows: Use the Bluebeam Revu Compatibility Chart to confirm that your system is compatible with Revu. Check your Windows updates and complete any pending reboots, as failure to do so may cause issues with the .NET Framework and Revu installations.
- Save your work: Close any running programs, since the system may need to restart before the installation is complete. If you're a Studio user, check in all Project files and ensure pending Session items have been uploaded to avoid potential data conflicts between versions. Click here for more information on reconciling changes.
Install Revu
To download the Revu 21 installer, go to the Download Center and select Download for Desktop. For Revu 20 & below, visit the Download Archive.
- Open the .exe file you downloaded.
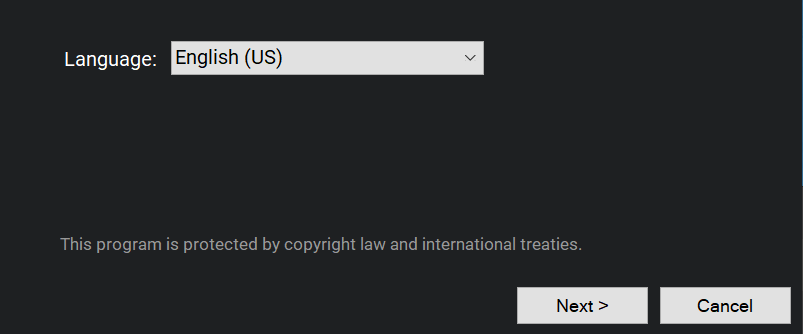
- In the installer, select the desired language and click Next.
- If you're installing Revu for the first time, follow the prompts in the installer.
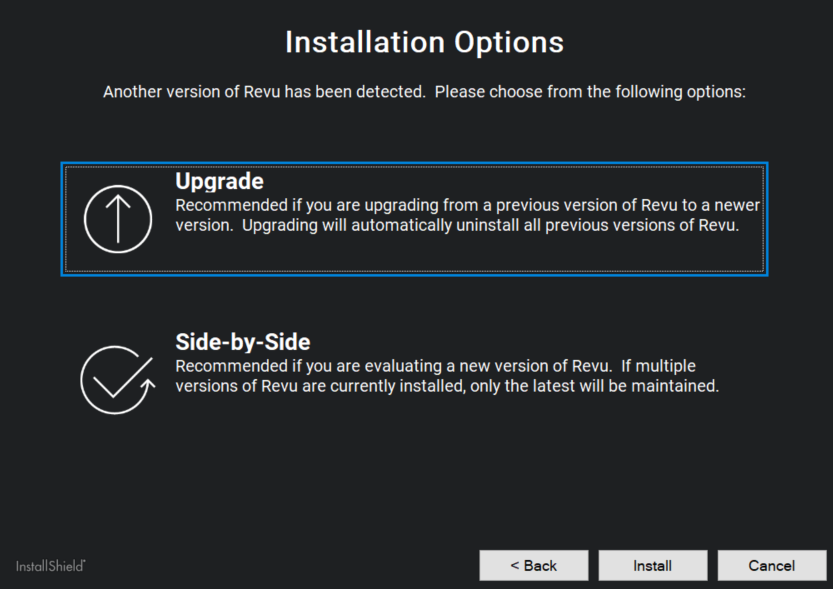
- If you already have Revu 2016 or later installed, the installer will prompt you to select one of the following installation options:
- Select Upgrade if you want to update your existing software to the latest version.
- Select Side-by-Side if you want to evaluate a new version of Revu, and you want to keep both instances of Revu on your computer.
You must have a version of Revu that is two generations prior to the version you install. For example, you may only have Revu 2019 or Revu 20 to install Revu 21 side-by-side. Otherwise, the older version of Revu will be uninstalled.
- If you already have Revu 2016 or later installed, the installer will prompt you to select one of the following installation options:
- Select Install.
- Select Finish.
When the installation is complete, you can sign in to Revu 21 with your Bluebeam ID (BBID) or register Revu 20 & below with your serial number and product key.
Troubleshooting
If you're unable to sign in to Revu 21, click here for steps to troubleshoot. For help with possible errors while registering Revu 20 & below, see Revu registration errors for a list of common solutions.
If an issue persists in Revu 21 or Revu 20, contact us for further installation and registration support.
Setup
Revu 21
Revu 20
Installation


