Applies to:
- Revu 21
- Revu 20
- Revu 2019
- Revu 2018
Revu includes a number of default PDF templates that are ready to use, but you can create your own by customizing existing templates or by starting with a blank PDF.
To use an existing template
- Select File >
New PDF.
- Choose a template in the Template dropdown.
- Select OK.
Alternatively, go to File > New PDF from Template and choose a template.
To import a template
If you receive a PDF template via email or need access to one in a shared drive, you can import it into Revu. To do this:
- Select File > New PDF from Template > Import Template.
- In the File Explorer, navigate to the folder where the PDF template is saved.
- Select the file, and click Open.
The PDF template won’t automatically open in Revu, but it’ll appear in the dropdown when you navigate to File > New PDF from Template.
To create a custom template from a blank PDF
- Select File >
New PDF.
- To create a blank PDF, select Custom in the Template dropdown.
- Enter the document width and height, and choose the orientation of your template.
- Select OK.
- Add any markups to the PDF that you want to include in the template.
For Revu 20 & below, you must have an eXtreme edition license to add form fields or editable text boxes.
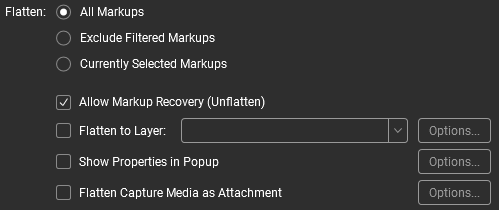
- To ensure your template can’t be edited while in use, select Document >
Flatten.
- Select All Markups.

- Select Allow Markup Recovery (Unflatten) if you want to edit the template in the future.
- Select Flatten.
- To ensure your template can’t be edited while in use, select Document >
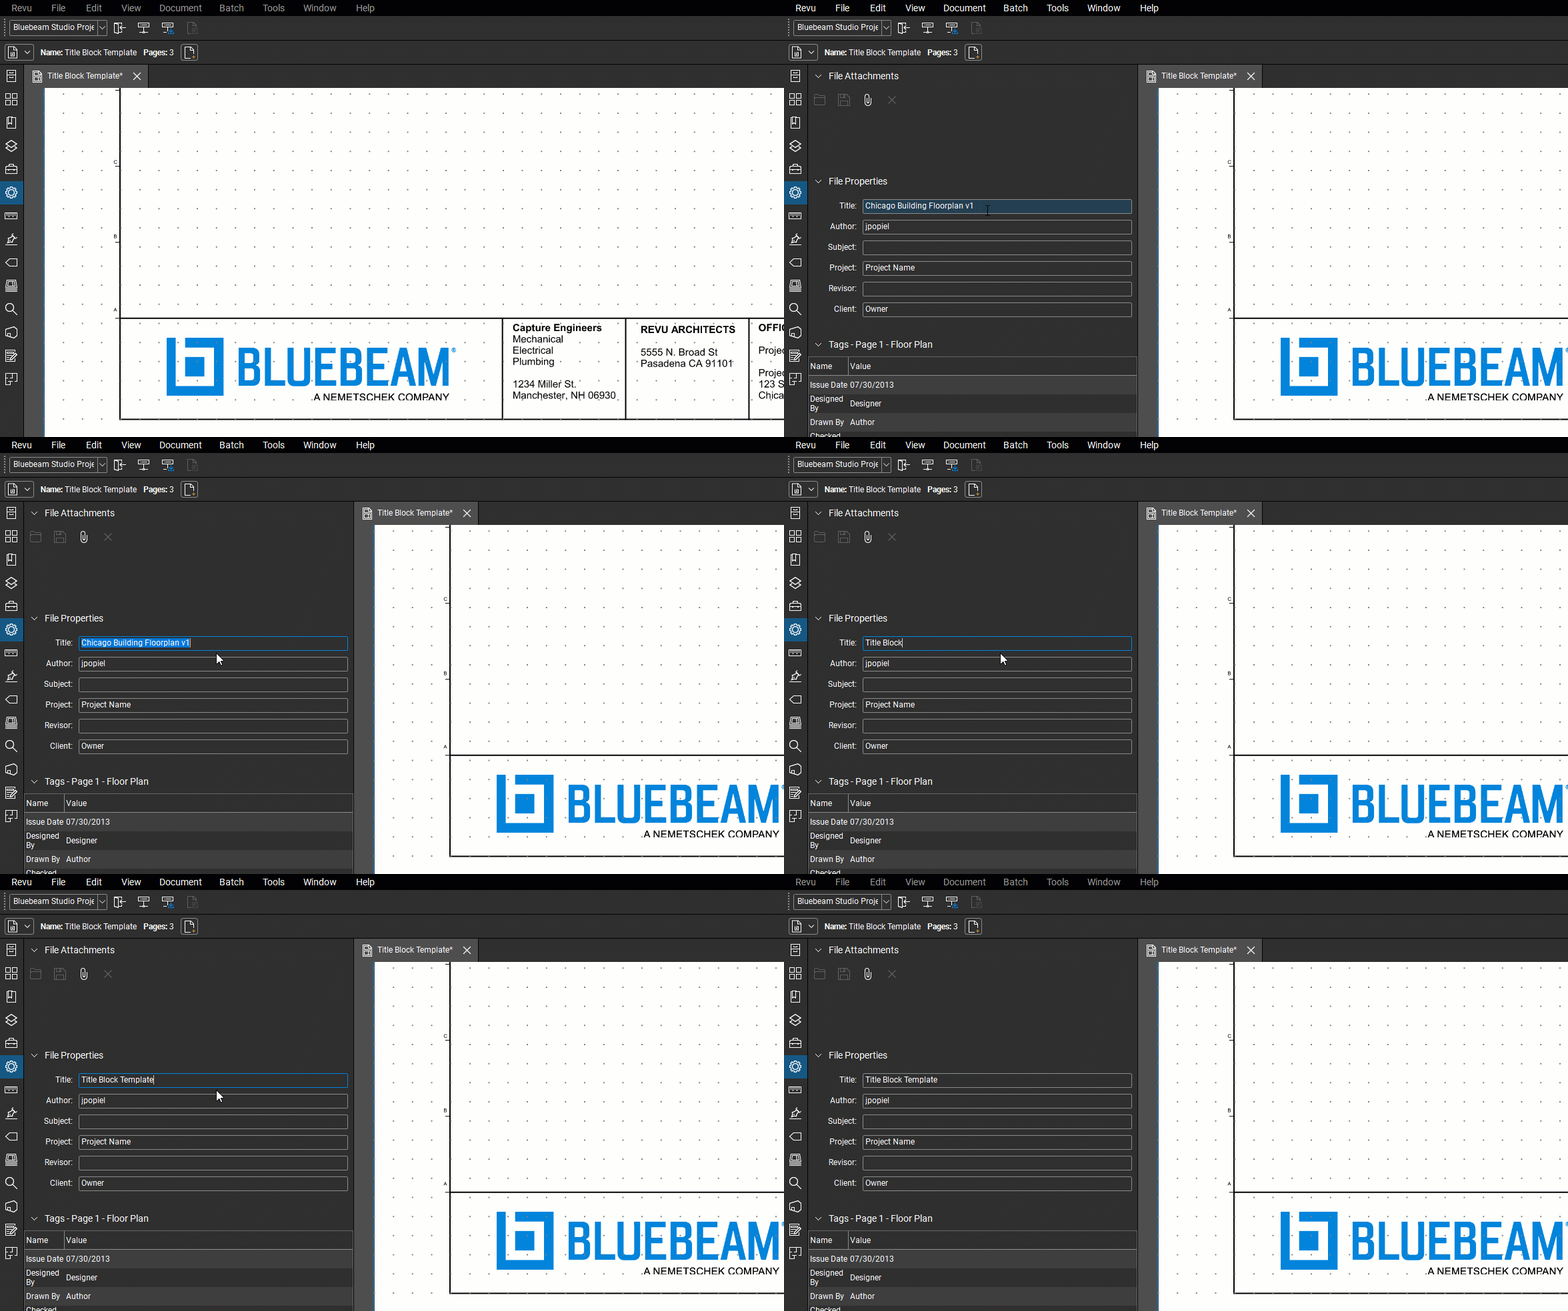
- Go to the
Properties panel and update the title. This will be the name of the template.

- To save your template, go to File > New PDF from Template >
Save As Template.
- Enter a file name, and select Save.
The template will appear in the dropdown list whenever you create a new PDF from a template.
For more information about how to save and create title block templates for sketch workflows in Revu, see this article.
How-To
Revu 2019
Editing Documents
Revu 20
Revu 21
