Applies to:
- Revu 20
- Revu 2019
- Revu 2018
Jump to other versions:
In Revu, you can open and save PDFs in a Studio Project folder without launching Studio. This function is accessible via the Document Management Toolbar and will prompt you to login with your BBID credentials. It’s especially useful if you and/or your team primarily work on files in Studio. Here’s how to use it:
Save a PDF with the Document Manager
- In Revu, open the PDF you want to save.
- From the Document Management toolbar, select Bluebeam Studio Projects from the dropdown menu if it isn’t already selected.
If the toolbar isn’t visible, go to Tools > Toolbars and select Document Management. - Click Save As (DMS)
. You’ll be prompted to log into Bluebeam Studio if you haven’t done so already.
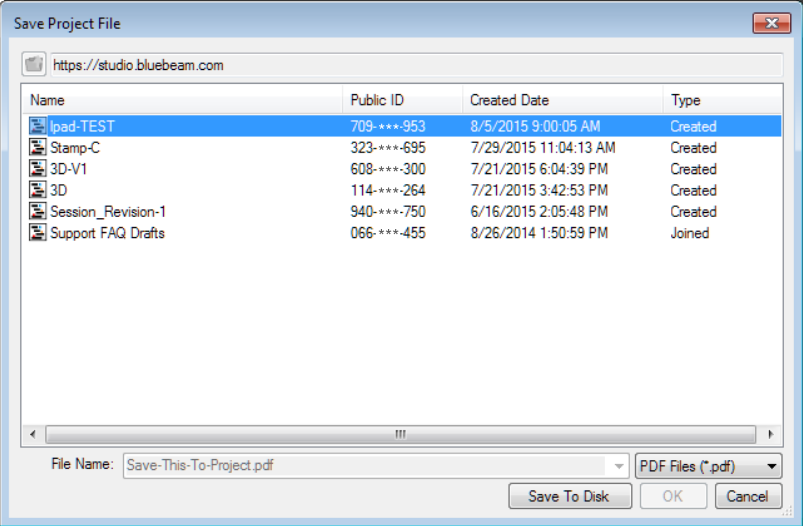
- When the Save Project File dialog appears, double-click on the desired project and folder. Click OK to upload the document into the project.
Set Studio as default open/save location
If you would like to set Studio as your default open/save location to access Studio Project files directly from your Revu workspace, follow the steps below:
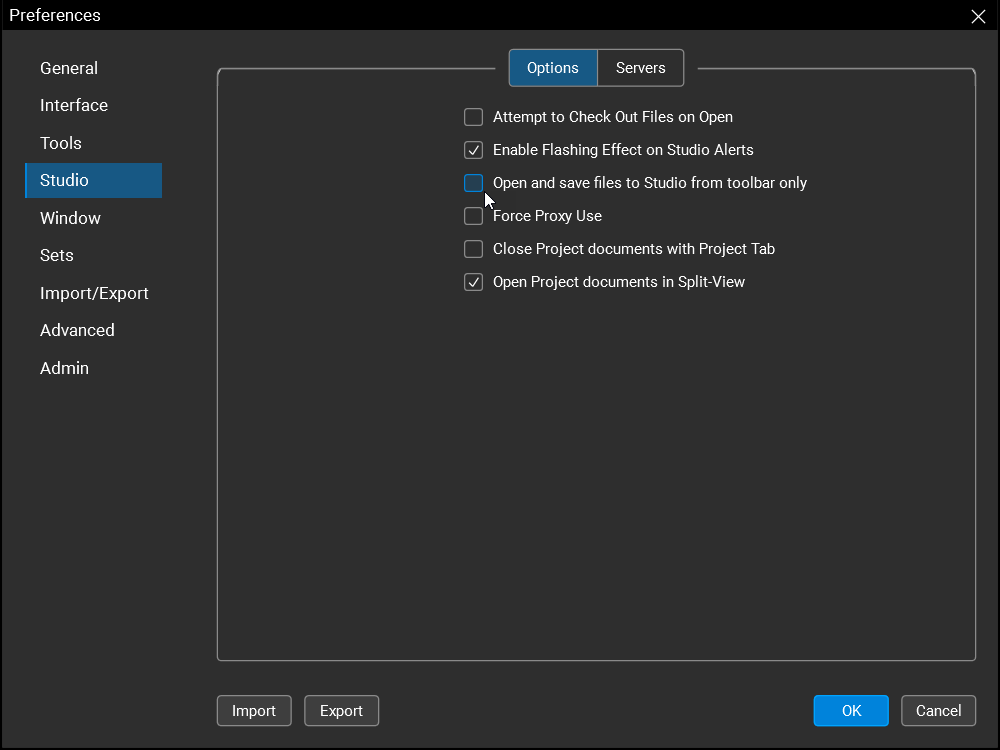
- Open Revu and go to Revu > Preferences
(Ctrl+K).
- Select Studio
> Options.
- Make sure the Open and save files to Studio from toolbar only box is unselected.

Revu will now default to Studio Project locations automatically when you open/save a PDF while signed into your BBID account.
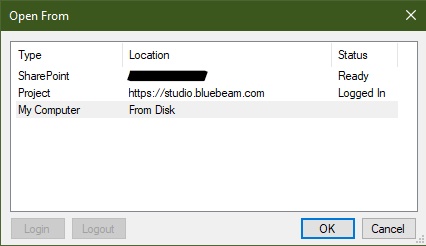
You’ll still have the option to open files from your local disk even with Studio set as your default.

To change your default back to the local drive though, go to Revu > Preferences (Ctrl+K) > Studio > Options and select the Open and save files to Studio from toolbar only checkbox again.
How-To
Revu 2019
Studio
Revu 20
Other versions of this article
Revu 2017 and older
Have you ever wanted to save an open PDF directly into a Studio Project without having to go into the Studio tab? The basic concept involves using the Document Management toolbar to access the Project and upload the document, but let’s look at the process in more detail.
The first thing you’ll need to do is make sure the Document Management toolbar is visible and set to connect to your Bluebeam Studio Projects. If it isn’t, click View > Toolbars ![]() and select it from the menu, and then select Bluebeam Studio Projects from the dropdown menu once the toolbar is open.
and select it from the menu, and then select Bluebeam Studio Projects from the dropdown menu once the toolbar is open.
![]()
Once you’ve done this, open a PDF and click Save As (DMS) ![]() in the Document Management toolbar. This opens the Save Project File dialog box.
in the Document Management toolbar. This opens the Save Project File dialog box.
Assuming you’re not already in a Studio Project, double-click the one you’d like to save the file to. This takes you into the Project, where you’ll see a list of any existing documents. Click OK to upload the new document to the Project.
To save another open PDF to the same Project, all you have to do is click Save As ![]() and you’ll be taken to the same location where you can click OK to complete the process. (If you find that you’re in the wrong Project, click Up
and you’ll be taken to the same location where you can click OK to complete the process. (If you find that you’re in the wrong Project, click Up ![]() and double-click another Project name.) You can also change your mind at any time and click Save to Disk, which lets you save the file to a local or network drive.
and double-click another Project name.) You can also change your mind at any time and click Save to Disk, which lets you save the file to a local or network drive.
Set Studio as default open/save location
If you would like to set Studio as your default open/save location, instead of opening from the Local Disk, follow the steps below:
- Open Revu and go to Settings > Preferences (Ctrl+K).
- Select Studio > General.
- Make sure the Toolbar Integration Only box is unselected.
Revu will now default to Studio Project locations automatically.
How-To
Revu 2017 & Below
Studio


